Various users have voiced their concern that the browser isn’t working along the expected lines on the latest OS build. For some, the issue is all the more series as they are not even able to launch Chrome in the first place. So keeping all this in mind, this guide will show you various methods to fix the Google Chrome not working issue in Windows 11. We have made sure that none of the methods listed below requires your interaction with Chrome. So even if you are unable to open the browser for any reason, you could still execute all the below-listed workarounds without any issue.
How to Fix Google Chrome Not Working in Windows 11
Do note that there’s no universal fix as such. You will have to try out each of the below-mentioned workarounds and see which one works best in your favor. So with that in mind, let’s get started.
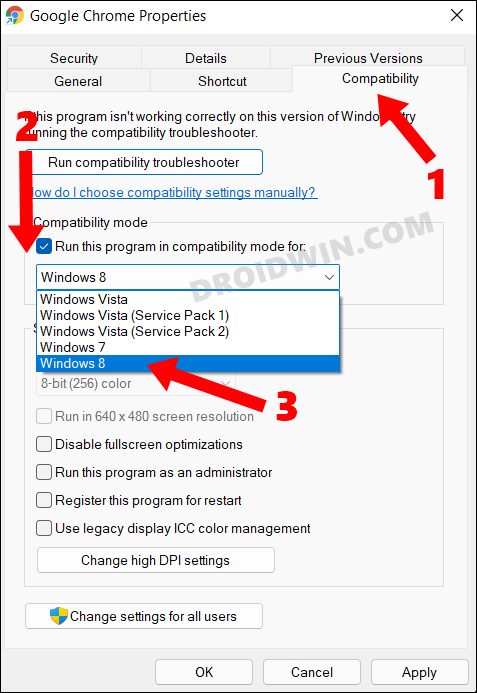
FIX 1: Run Chrome in Compatibility Mode
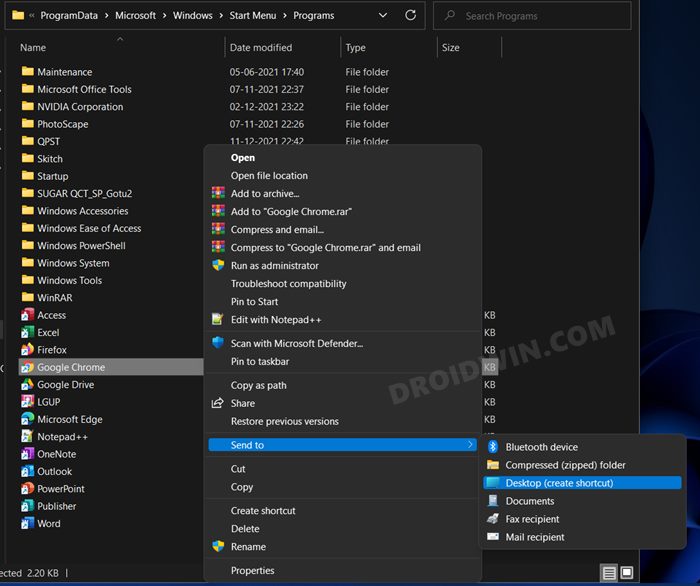
Since the browser isn’t working on the latest version of the OS, you could try running in compatibility mode on an older OS build. For that, you will need to have the Chrome shortcut on your desktop.
If you don’t have that, then go to C:\ProgramData\Microsoft\Windows\Start Menu\Programs, right-click on the Chrome icon, and select Show More options. Then select Send To > Desktop (Create Shortcut). Once that is done, you may proceed with the below instructions.
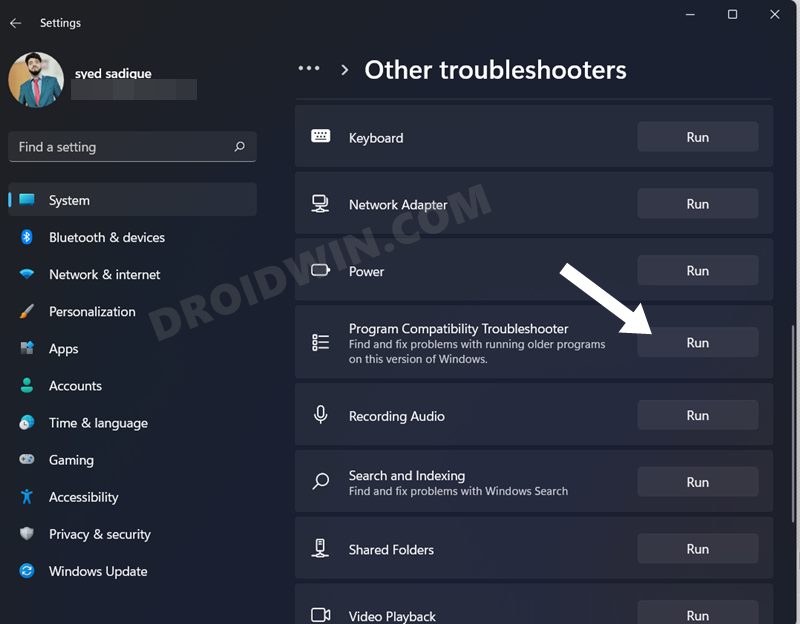
FIX 2: Run Program Compatibility Troubleshooter
Windows comes with quite a few troubleshooter apps, and one of them focuses specifically on app compatibility-related issues. As of now, we will be using this app to identify the issues related to Chrome and subsequently get hold of the ways to resolve those issues as well. Follow along.
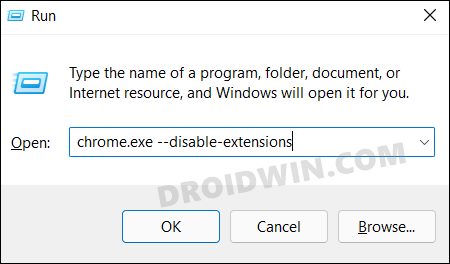
FIX 3: Disable Chrome Extensions via Run
Extensions are notoriously infamous for causing conflicts with the proper functioning of the browser. Therefore, you should consider disabling all these extensions and then try accessing the browser. But since we aren’t able to open Chrome, let’s disable these extensions via the Run menu. Here’s how: So keep all these extensions disabled and then enable them one at a time (from the chrome://extensions page) until you are able to re-create the issue. Once that happens, go and check out the last enabled extension- and you have caught the culprit. It’s better to keep that extension disabled or rather remove it from the browser.
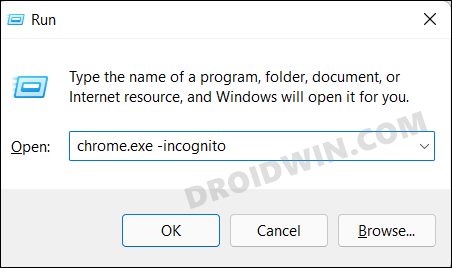
FIX 4: Open Chrome in Incognito via Run
Not just the third-party add-ons, but the stored cookies and cache could also lead to a few issues in some instances. Therefore, you should consider using the Incognito Mode so that the browser doesn’t end up collecting cookies and at the same time, all the extensions stand disabled. But as of now, you might not be able to use the Ctrl+Shift+N shortcut keys to open a private window, so let’s again call the Run menu for help. If the browser now opens in this mode, then the issue was with the corrupt data or extensions. Since we have already dealt with extensions in the third fix, let’s now turn our attention towards corrupt data.
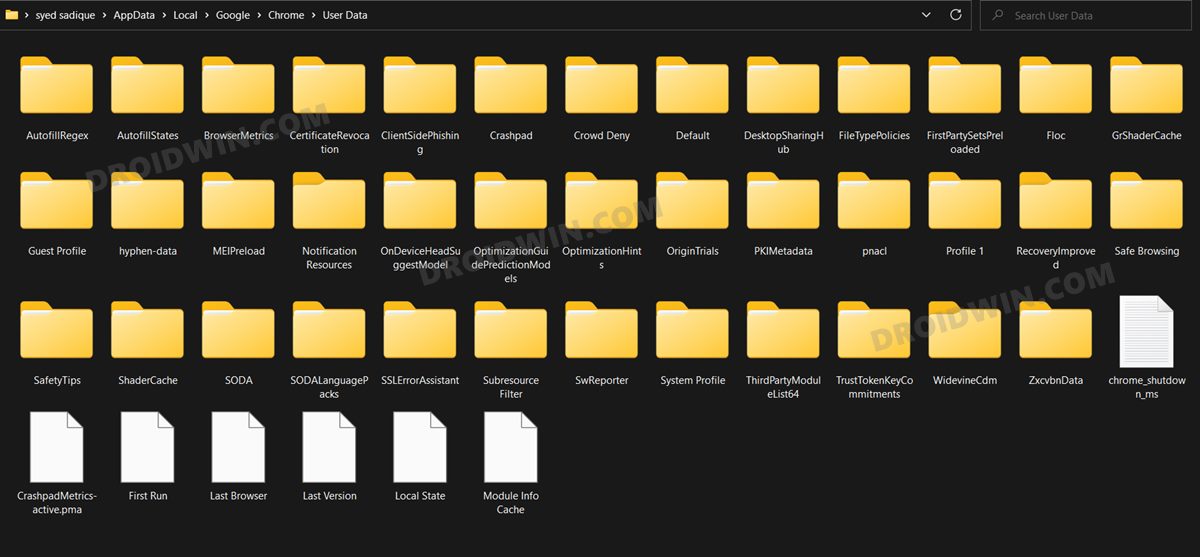
FIX 5: Delete Chrome User Data
In case the stored browser data gets corrupted, then its repercussions will be felt by the browser. From favorites to bookmarks, or cookies and cache, issues with any of its data would have led to issues with the browser as a whole. Therefore, you should consider deleting all these data and letting the browser repopulate them from scratch, using your Google account. Here’s how:
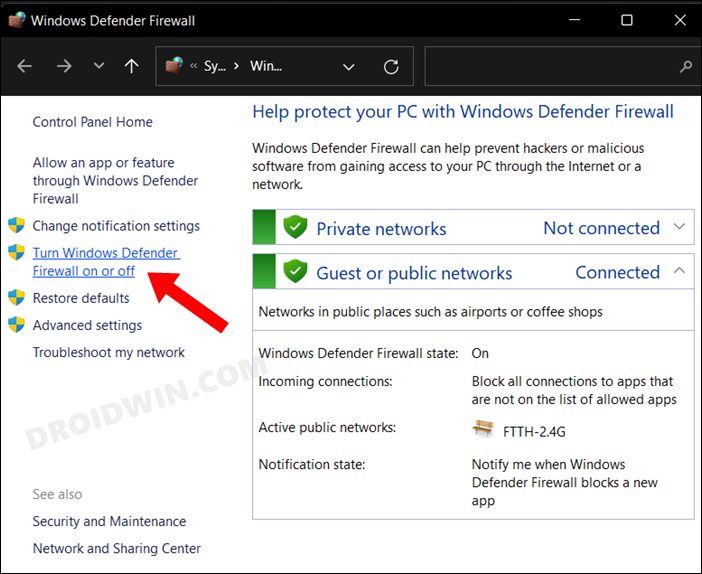
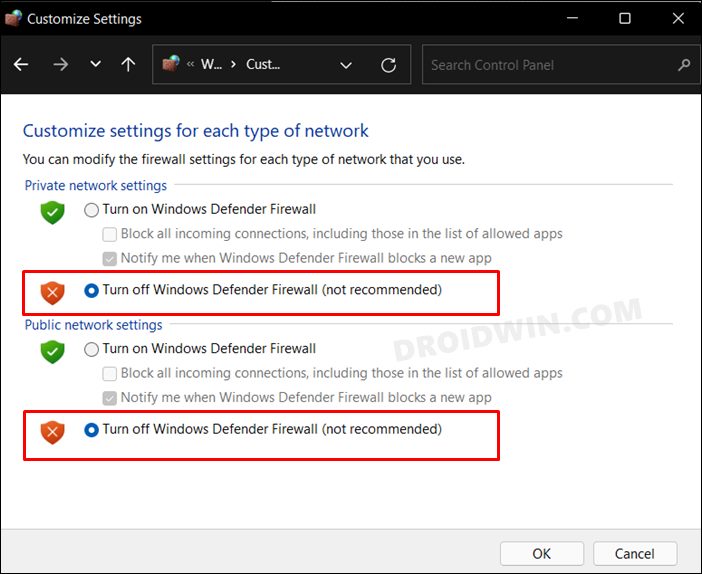
FIX 6: Disable Firewall
In some cases, the Windows Firewall might raise a false positive and could end up blocking legitimate traffic from apps that are having access to the internet. To verify if that is indeed the case this time around as well, here’s what you need to do.
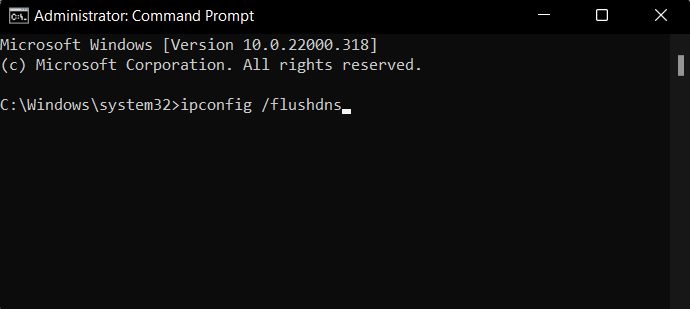
FIX 7: Delete DNS Cache
If a lot of Domain Mame Server records get accumulated over the due course of time, then the browser might have an issue or two in loading web pages. In some cases, the burden of data might make it difficult for the browser itself to open properly. Therefore, you should consider deleting these records from your PC. Are there any risks in deleting DNS? Well, not really. It’s just that you might notice a one-second delay when the website loads as the browser wouldn’t have any data to pick up from its phonebook (DNS Records). However, this is delay is only for the first time as the DNS data will be repopulated once the site loads. So with that in mind, here’s how you could delete the DNS on your Windows 11 PC.
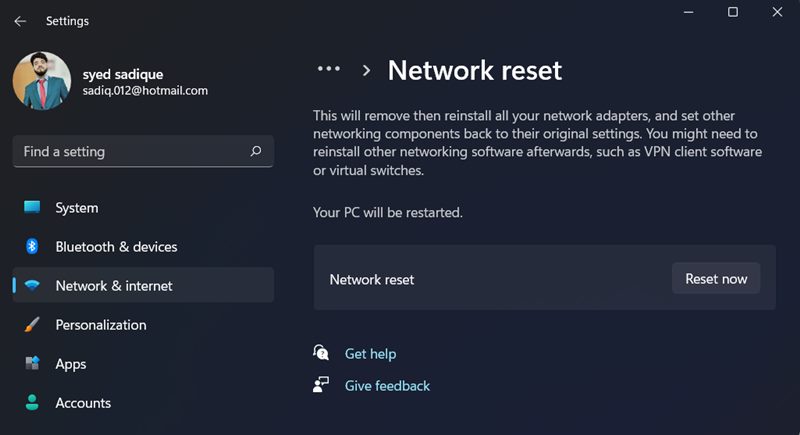
FIX 8: Reset Network
If you are facing problems with numerous apps that require the usage of the internet, then the issue might be with your PC’s network rather than each of those individual apps. So in that case, you should consider resetting your Windows 11 PC network setting. However, that will delete all the saved WiFi networks as well, so take their backup beforehand and only then proceed with the below steps:
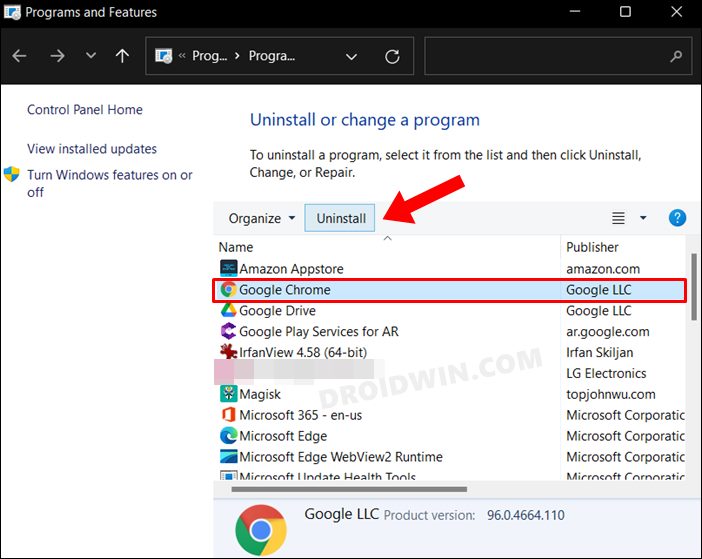
FIX 9: Reinstall Google Chrome
If Chrome’s configuration or settings have got corrupted then deleting its data might not be enough. In such cases, you will have to uninstall and then reinstall the browser on your PC, using the below-given instructions.
FIX 10: Try Chrome Beta/Dev/Canary
Apart from the stable Chrome version, Google also runs the Beta, Developer, and Canary builds. These are mostly intended for testing developmental features before being rolled out for the general audiences. On paper, they are generally less stable but I have been personally using them and there’s not much of a stability issue as such. On the good side, you will always be the first in line to welcome new features.
So if the stable build is not working along the expected lines, then you could try out the Chrome Beta (recommended), Developer, or Canary build (least stable) and check if it works out for you. If your answer is still in a negative tone, then you have no choice but to temporarily switch over to another Chromium-based browser (such as Microsoft Edge) and wait until Google releases a new update for its browser. With this, we round off the guide on how you could fix the Google Chrome not working issue on your Windows 11 PC. We have listed ten different methods for the same. Do let us know in the comments section which one spelled out success for you. Likewise, all your queries are welcomed in the comments section below.
How to Enable Windows 11 Context Menu in Google ChromeGoogle Chrome Camera not working in Windows 11: How to FixHow to Turn off Chrome Notifications in Windows 11How to Open Windows 11 Widgets Articles via Chrome
About Chief Editor