However, there’s no universal rule as such that each device should have an N number of partitions. As already mentioned, many devices don’t have the recovery partition and hence boot takes care of installing a custom recovery. Along the same lines, many Xiaomi devices come with a Super partition, which is an amalgamation of system, vendor, and product partitions. But why are we bringing all these here? Well, it will help you in understanding the failed to mount /vendor (invalid argument) error in TWRP Recovery and its fix.
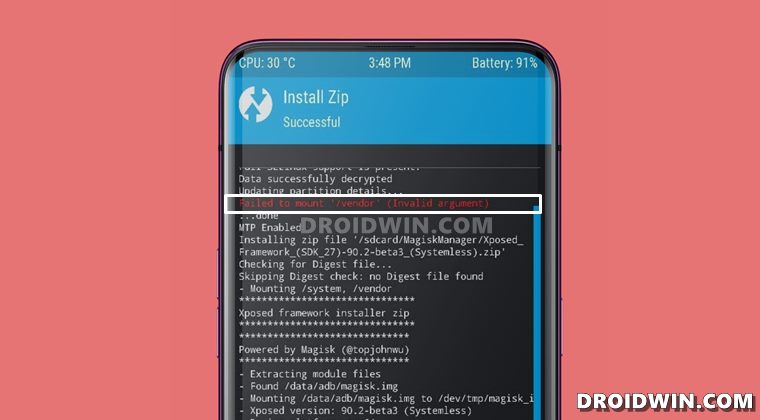
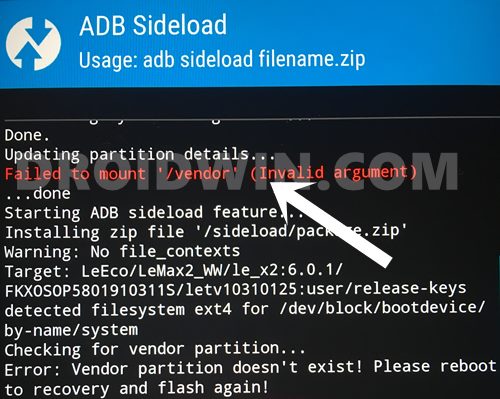
Failed to mount /vendor (invalid argument)
This error message shows up in TWRP Recovery when you are trying to flash a custom ROM (or any other related mods, tweak). So why does it happens? This message shows up in those set of devices that doesn’t have a vendor partition. Since there is no vendor partition, TWRP wouldn’t be able to mount it in the first place! A perfect example of such a device is the OnePlus 5/5T. Since vendor partition is used for treble compatible devices and your device is not treble compatible, hence there wouldn’t be any /vendor partition. As a result, when you would be flashing a non-treble ROM, you will be greeted with the failure message. So is this a cause of concern? In most cases, no it isn’t! Even if you are seeing the failed to mount /vendor (invalid argument) error message, the file would have been successfully flashed onto your device.
The next time you flash any other related file, you may again see this error message in red color. But that’s it, it wouldn’t conflict with the normal device usage or flashing any custom binary. However, if you are stuck with this error and aren’t able to carry out the desired task, then only you should consider fixing it. And turns out there are a couple of workarounds that are known to rectify the same. Let’s check out two such methods that will help you fix the failed to mount /vendor (invalid argument) error in TWRP. Droidwin and its members wouldn’t be held responsible in case of a thermonuclear war, your alarm doesn’t wake you up, or if anything happens to your device and data by performing the below steps.
Install a Treble Supported Rom and Fix Failed to Mount /Vendor
The first fix requires you to flash a treble supported custom ROM onto your device. Here’s how:
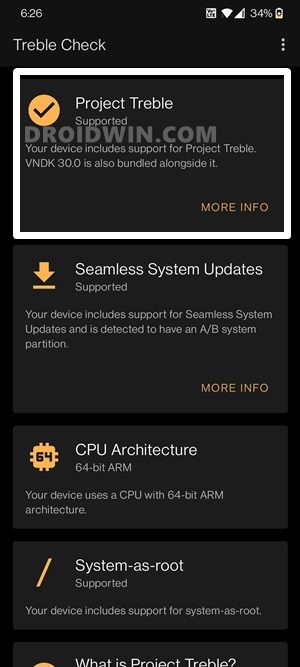
Check for Project Treble Support
First and foremost, install the Treble Check App from Play Store. Now launch it and if you see a tick mark next to Project Treble with the supported keyword underneath it, then you are good to proceed ahead.
Download Treble Supported Rom
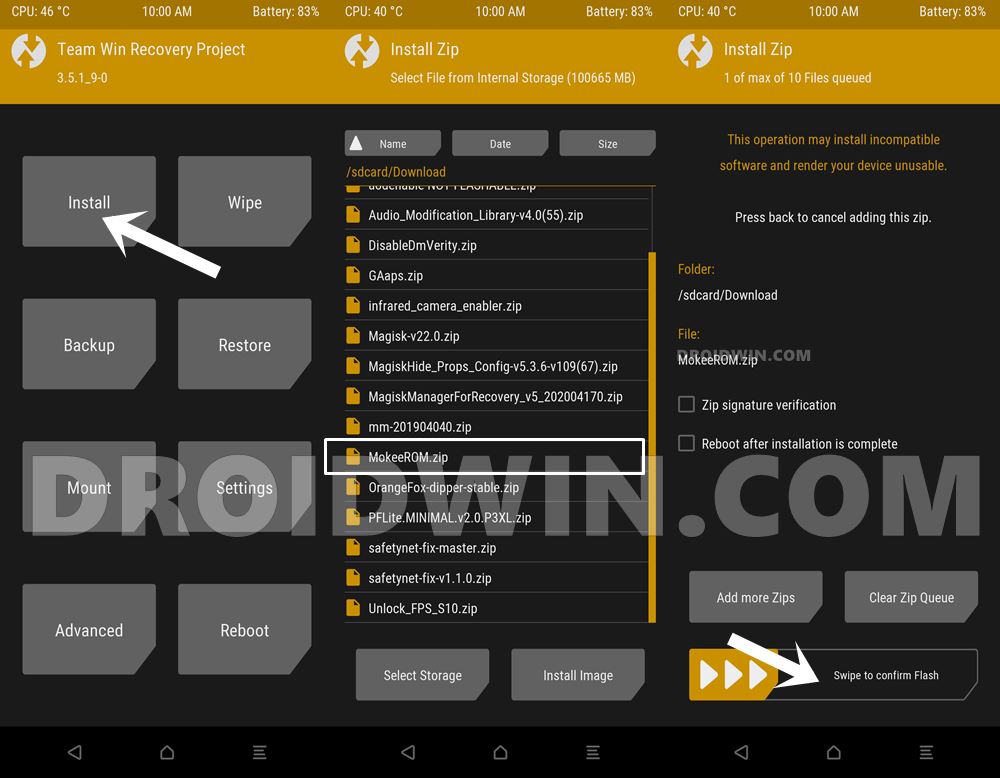
The next step then involves flashing a Treble Supported Rom onto your device. For that, you need to find a ROM that belongs to this domain. Mokee ROMs might work perfectly in such scenarios [Download Link].
Install Android 11 on GSI Supported Project Treble DevicesDownload and Install Android 12 GSI on Project Treble Devices
Install TWRP Recovery
Once you have downloaded the ROM of your choice, make sure that you have a working TWRP installed onto your device. Most of you would already have it installed. If not, then refer to our detailed guide to Install TWRP Recovery on Android.
Boot to TWRP Recovery
Now boot your device to TWRP Recovery. For that, you may either use the hardware key combinations or refer to our guide: How to Boot into Recovery (TWRP/Stock). [In short: use the adb reboot recovery command].
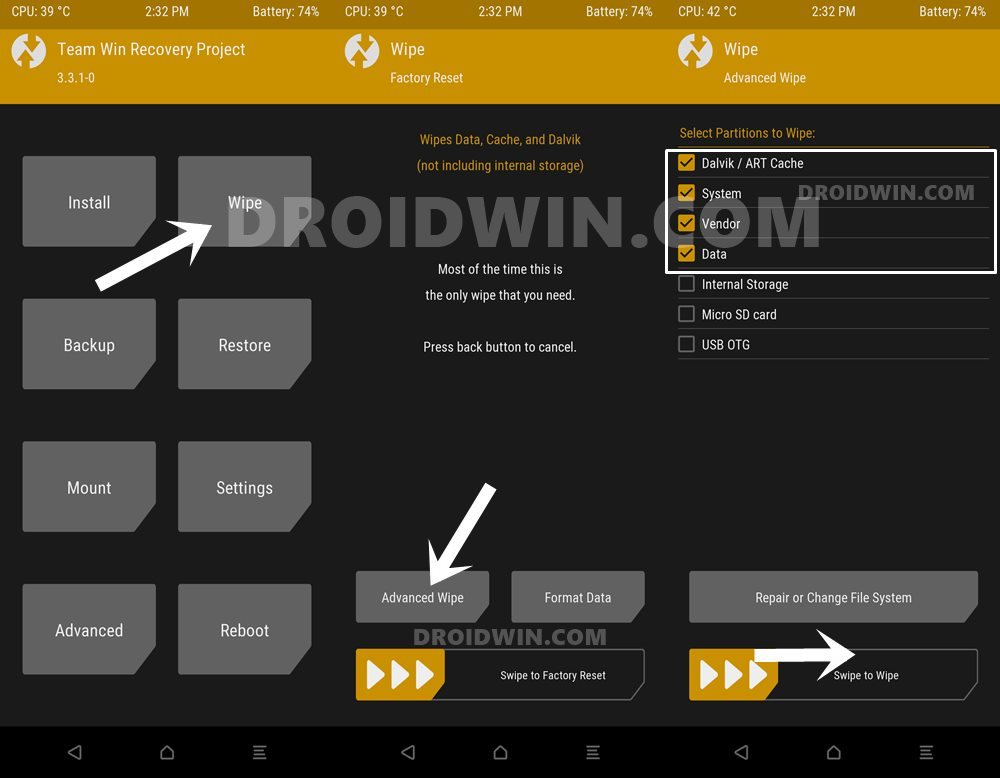
Flash Treble Supported ROM via TWRP
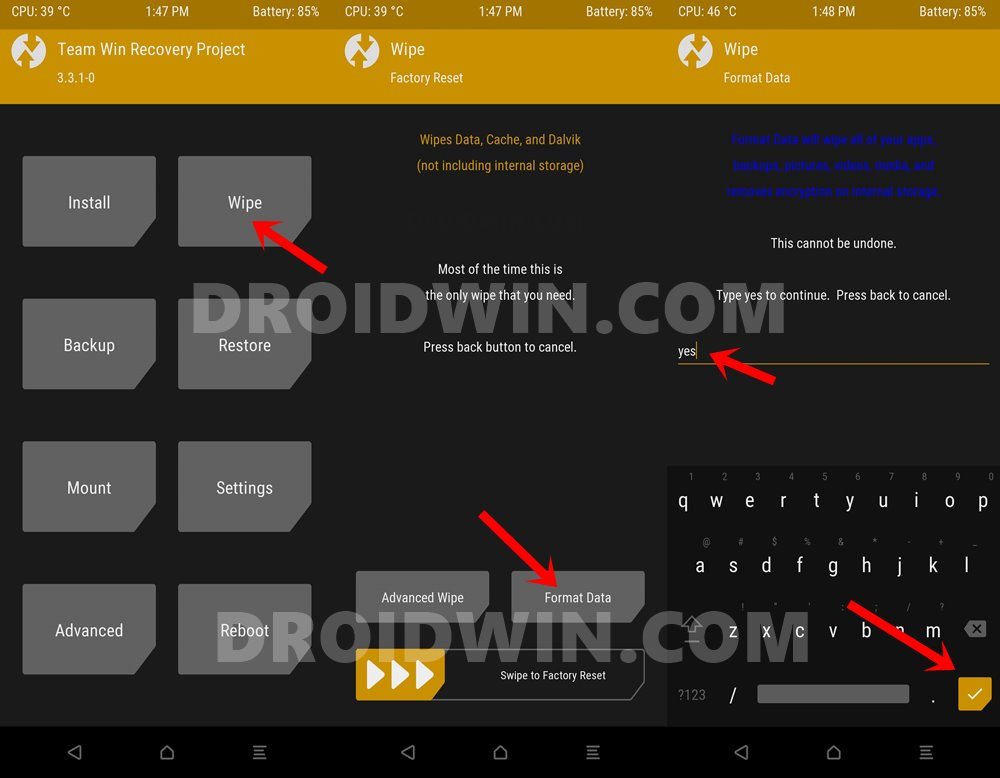
Each ROM has a different set of flashing steps, I am listing out the generalized set of instructions. If there is any additional step (or file that needs to be flashed), make sure to check out the ROM/developer’s page. Furthermore, the below steps will wipe off all the data, so take a backup beforehand (Nandroid is recommended).
Treblize the Device and Fix Failed to mount /vendor
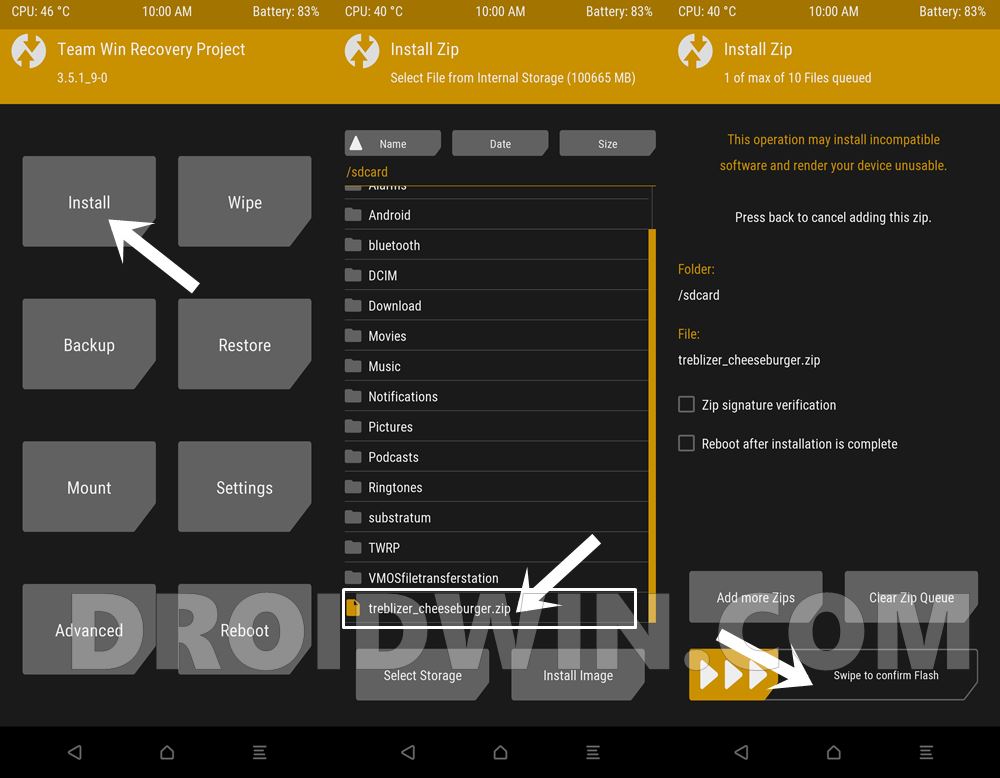
You may also treblize your device, by flashing the ZIP module for your device. Unfortunately, getting hold of the same is no easy task. As of now, I was able to fin the module for the OnePlus 5T, you may download it from here: treblizer_cheeseburger.zip. For other devices, you may search in XDA Forums.
Conclusion
So this was all from this guide on how to fix the failed to mount /vendor (invalid argument) error in TWRP. As already mentioned, more often than not, this error message isn’t a cause of concern and would allow you to carry out the desired task with ease. Only when it conflicts with the flashing of files, you should consider carrying out the above-mentioned methods. With that said, if you have any queries concerning the aforementioned steps, do let us know in the comments. We will get back to you with a solution at the earliest.
About Chief Editor