Being a Kickstarter project, much wasn’t anticipated from it, but it managed to surpass all expectations. One of the major reasons for the same is its compact design- the screen size is just 3 inches long. Apart from that, the device has been titled as the world’s smallest Android 10 4G smartphone. Likewise, it has managed to grab the attention of the masses in custom development as well. There are already a plethora of tweaks available for this device, all that is needed is administrative rights, or in other words, root. And this guide shall help you with just that. So without further ado, let’s get started with the steps to root your Jelly 2 device via Magisk.
Root Jelly 2 via Magisk without TWRP
There exist two different methods of rooting a device- using TWRP or without the use of TWRP. As of now, there’s no working TWRP build available for our device. Hence we will be going ahead with the latter method. This involves extracting the boot.img from the stock firmware, patching it via Magisk, and flashing it via Fastboot. So keeping these points, let’s start off with the guide to root your Jelly 2 device via Magisk. Droidwin and its members wouldn’t be held responsible in case of a thermonuclear war, your alarm doesn’t wake you up, or if anything happens to your device and data by performing the below steps.
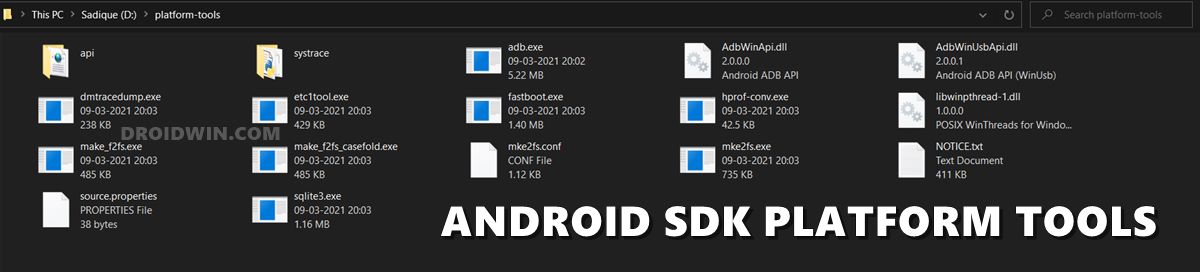
Install Android SDK
First and foremost, you will have to install the Android SDK Platform Tools on your PC. This is the official ADB and Fastboot binary provided by Google and is the only recommended one. So download it and then extract it to any convenient location on your PC. Doing so will give you the platform tools folder, which will be used throughout this guide.
Unlock Jelly 2 Bootloader
Next up, you will have to unlock the device’s bootloader. If you haven’t done so, then refer to our detailed guide on How to Unlock Bootloader on Jelly 2 Phone. [In short: you need to execute the fastboot flashing unlock command inside Command Prompt’s ADB directory].
Get Jelly 2 Stock Boot.img File
I have already downloaded and extracted the stock boot.img for Jelly 2 for the NON_EEA location having firmware version: 2020101712_g55v71c2k_dfl_tee. So if your device is also having the same firmware and region, then you skip downloading the entire firmware and directly download the stock boot.img file from here: jelly_2_NON_EEA_2020101712_g55v71c2k_dfl_boot.img. However, if that is not the case, then proceed with the below manual instructions:
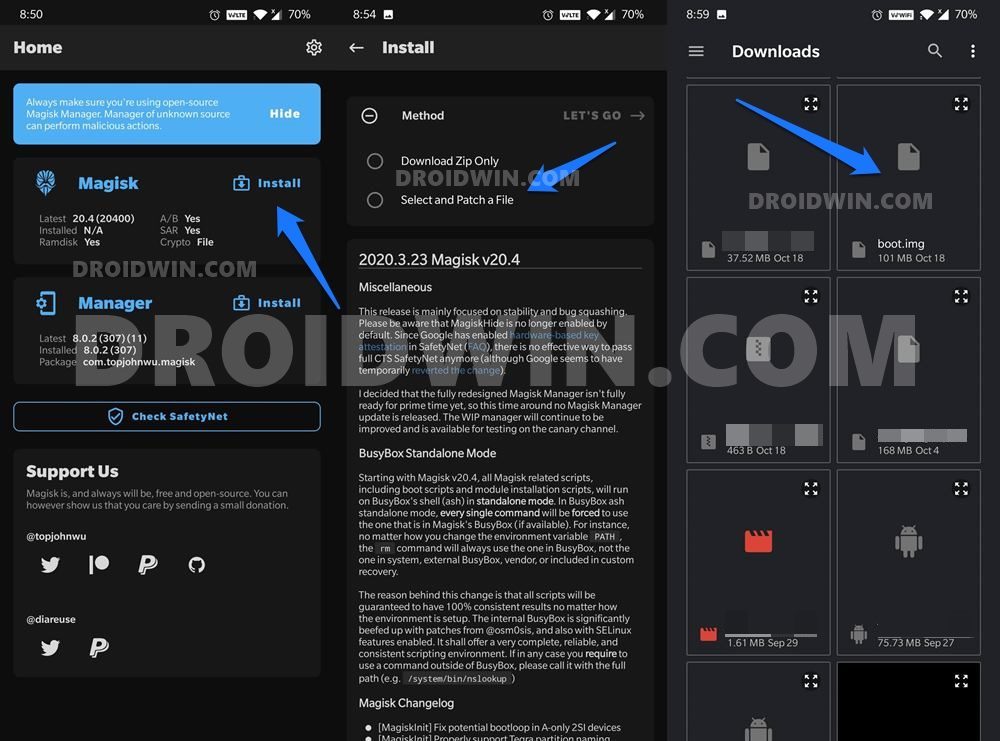
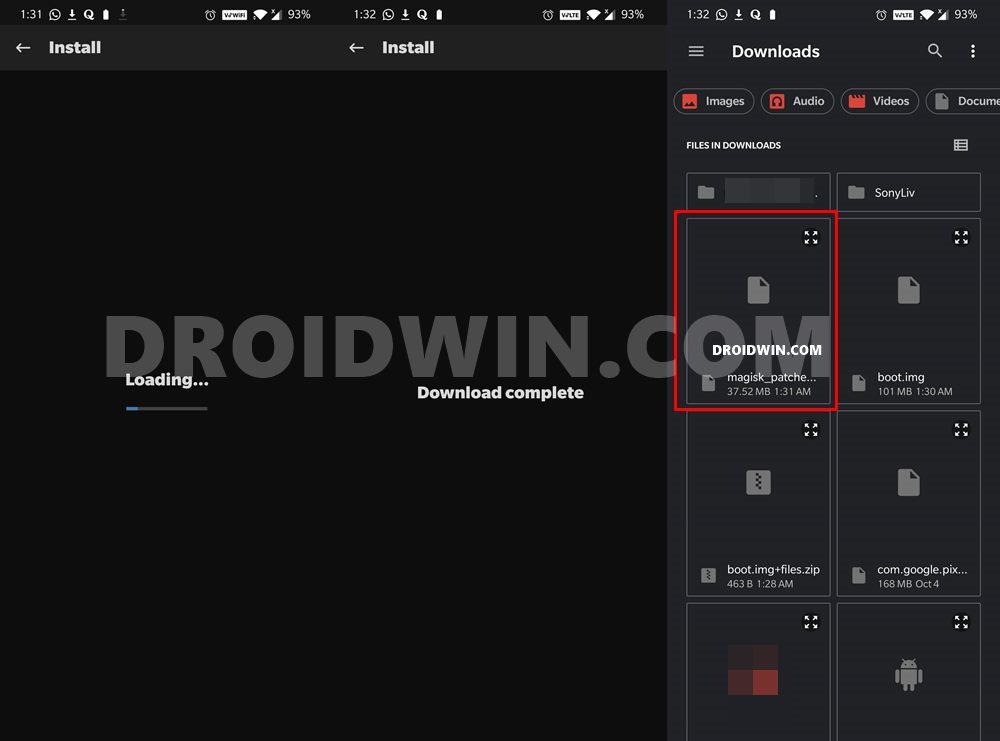
Patch Jelly 2 Stock Boot.img via Magisk
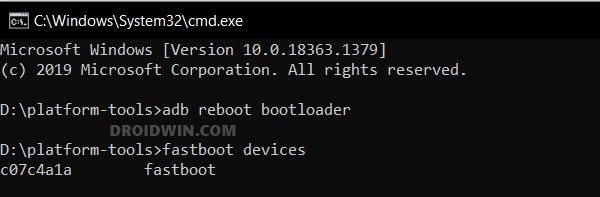
Boot Jelly 2 to Fastboot Mode
Flash VBMeta on Jelly 2
You will now have to flash an empty vbmeta.img file to your device. Here’s how it could be done:
Flash Patched Boot.img via Fastboot and Root Jelly 2
That’s it. These were the steps to root your Jelly 2 via Magisk. If you have any queries concerning the aforementioned steps, do let us know in the comments. We will get back to you with a solution at the earliest.
About Chief Editor