Launched with Android 7.1.1 out of the box, the device was slated to receive two years of OS upgrades. And that was indeed the case. It got updated to Android 9.0 Pie and after that, there was no update as such. But this device has always been an active participant in custom development and owing to it, it has now been blessed with the latest iteration of the OS. And in this guide, we will show you to welcome it onto your device. So without any further ado, let’s get started with the steps to install TWRP and Android 12 ROM on Galaxy Note 8.
What’s New in Android 12?
Just to recap, the Silicon Valley giants have introduced a plethora of new and interesting features in the twelfth iteration of the OS. These include the massive UI revamp thanks to the Material You design. Likewise, there’s a Wallpaper-based UX Theming that will pick up the major color from the wallpaper and theme it across various device components (such as the Notifications panel and Settings menu). Then there is an addition of the Privacy Dashboard as well.
This will tell you the date and time when an app asked for the location, camera, and microphone permissions. Moreover, there are some new accessibility features as well. These include the likes of Camera Switch which allows you to take full control of your device via your facial gestures. And you could now welcome all these features onto your device. Given here are the detailed instructions to install Android 12 ROM on your Galaxy Note 8 device.
How to Install Android 12 ROM and TWRP on Galaxy Note 8
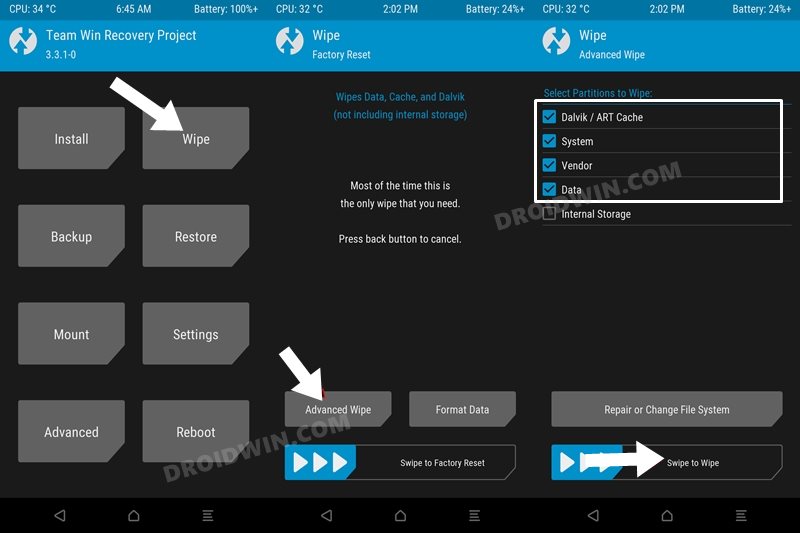
For flashing of this ROM, you will have to wipe the data partition. This will delete all the data from your device, so please take a complete device backup beforehand. Droidwin and its members wouldn’t be held responsible in case of a thermonuclear war, your alarm doesn’t wake you up, or if anything happens to your device and data by performing the below steps.
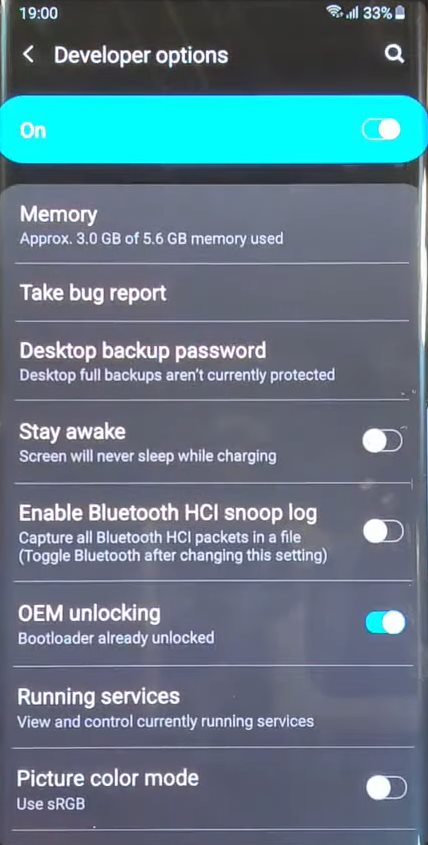
STEP 1: Enable USB Debugging and OEM Unlocking
To begin with, enable USB Debugging and OEM Unlocking on your device. The former will make your device recognizable by the PC in ADB mode. This will then allow you to boot your device to Download Mode. On the other hand, OEM Unlocking is required to carry out the bootloader unlocking process.
So go to Settings > About Phone > Software Information > Tap on Build Number 7 Times > Go back to Settings > Developer Options > Enable USB Debugging and OEM Unlock.
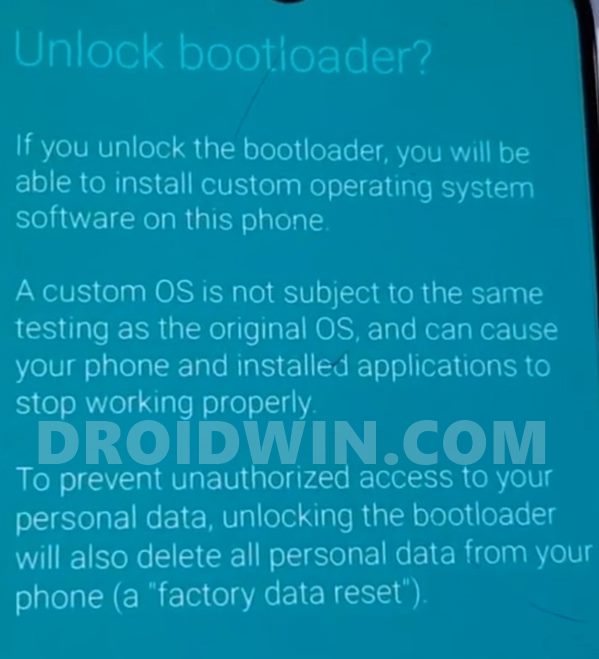
STEP 2: Unlock Bootloader on Galaxy Note 8
Next up, you will have to unlock the device’s bootloader. Do note that doing so will trip the Knox counter and could void the device’s warranty as well. So if that’s well and good, then please refer to our guide on How to Unlock Bootloader on any Samsung Device [New VaultKeeper Method].
STEP 3: Download Android 12 ROM for Galaxy Note 8
So here are all the features that are working in this ROM. As far as bugs are concerned, there doesn’t seem to be any.
What’s Working
– Wifi – Sound – mali drivers – USB tethering – HW Backed Video Playback – Ril (Mobile data, calls, SMS, and stuff) – Sensors – Buttons – Bluetooth – Wifi HotSpot – MTP – 2D and 3D gpu acceleration – HW encoding/decoding – HWcomposer (HWC) – Charging with the device powered off – Stuff I didn’t test yet – Camera – GPS – Fingerprint Sensor – Mobicore – SW codecs
Download Android 12 ROM
Name: LineageOS 19Based on: Android 12Download: Link | MirrorCredits: XDA Recognized Developer ivan_meler
Download Android 12 GApps
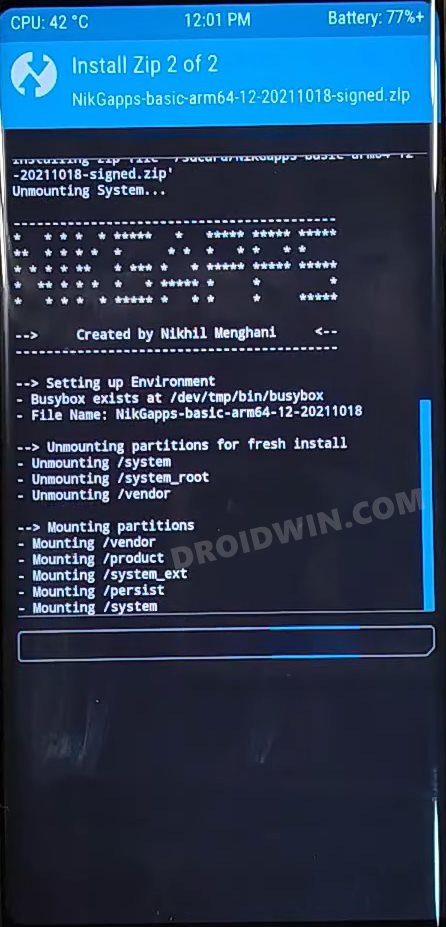
if you wish to have the Google Apps Services and Frameworks on your device, then you will have to install the GApps package as well. We have shared the link for BiTgapps, though you could also try out NikGapps or FlameGapps.
Download: BitGApps
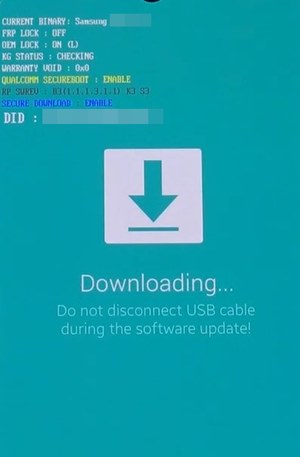
STEP 4: Boot Galaxy Note 8 to Download Mode
You will now have to boot your device to the Download Mode so that Odin is able to recognize the device. Once that happens, we will then flash the TWRP Recovery via Odin and subsequently the Android 12 ROM via the recovery. So press and hold the Power, Volume Down, and Home keys together and you will be taken to a Warning Screen. After that, press the Volume Up key to boot your device to Download Mode. You may also refer to our guide on How to Boot any Samsung Device to Download Mode.
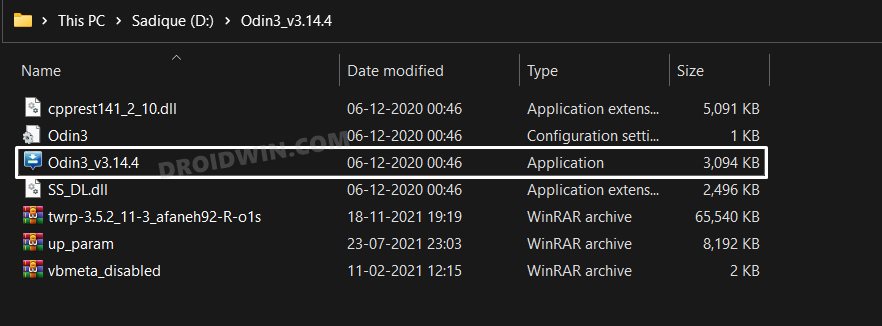
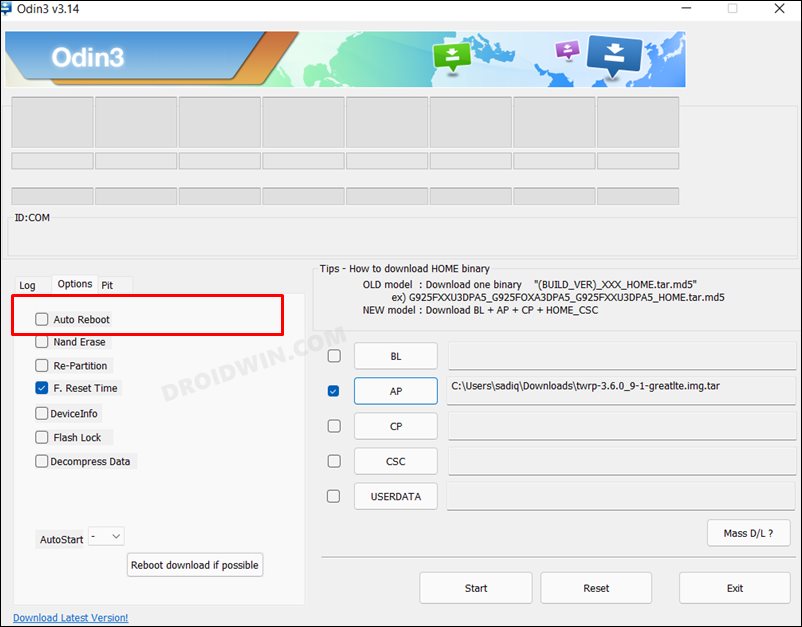
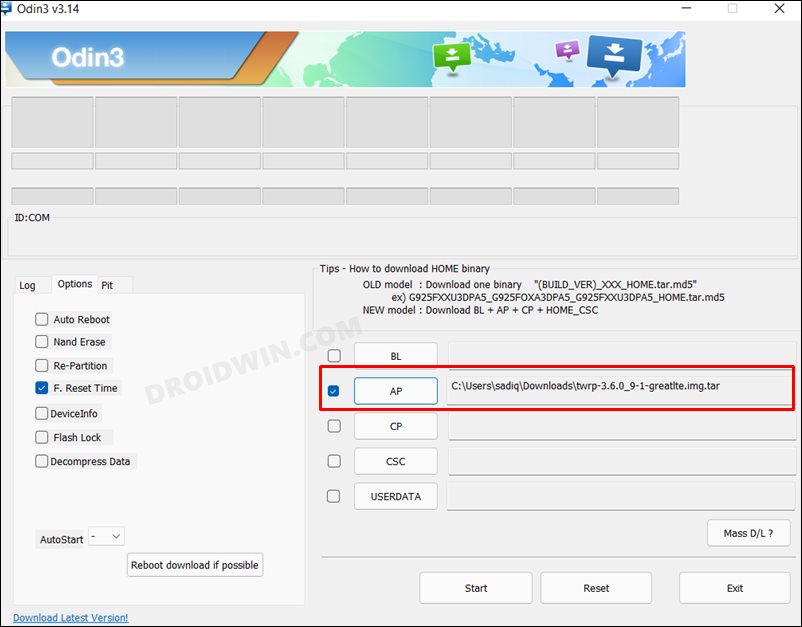
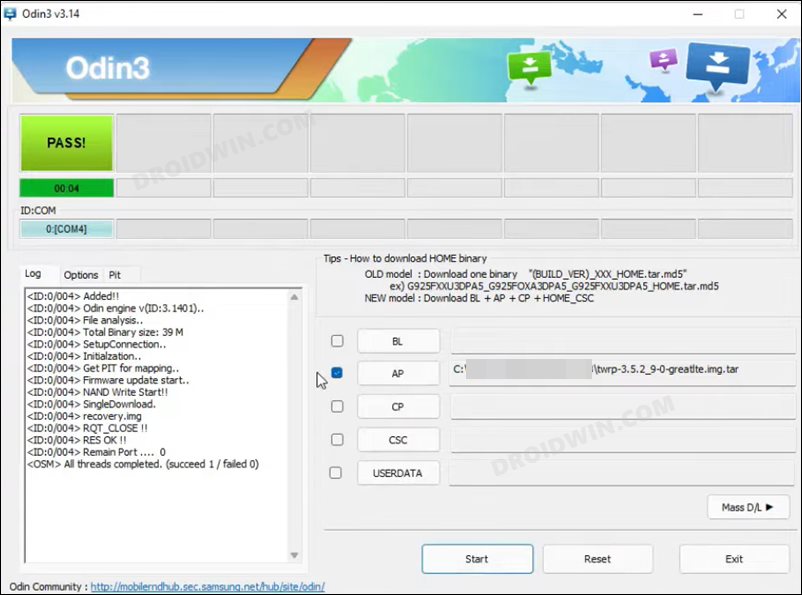
STEP 5: Install TWRP on Galaxy Note 8 via Odin
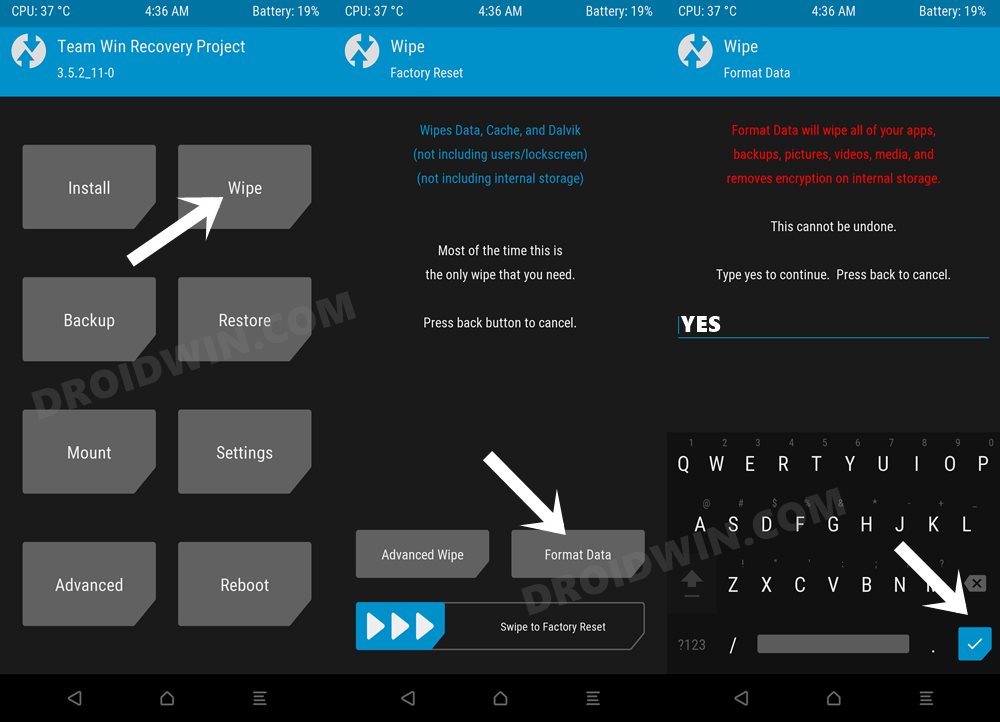
STEP 6: Format Data on Galaxy Note 8 via TWRP
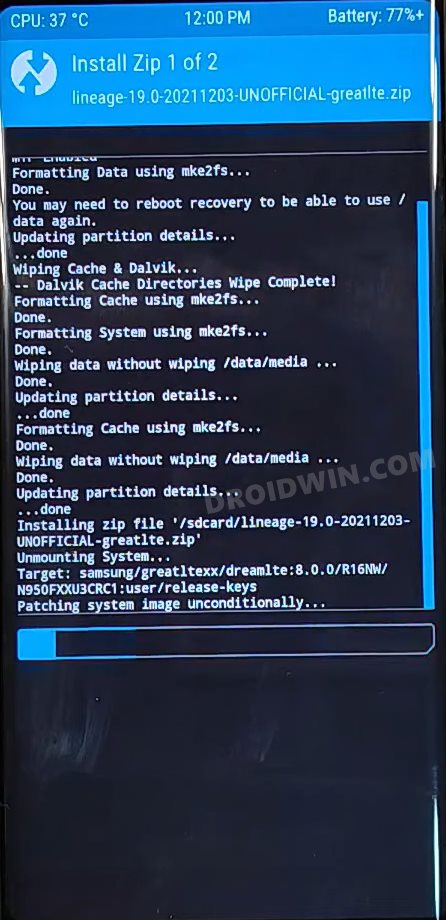
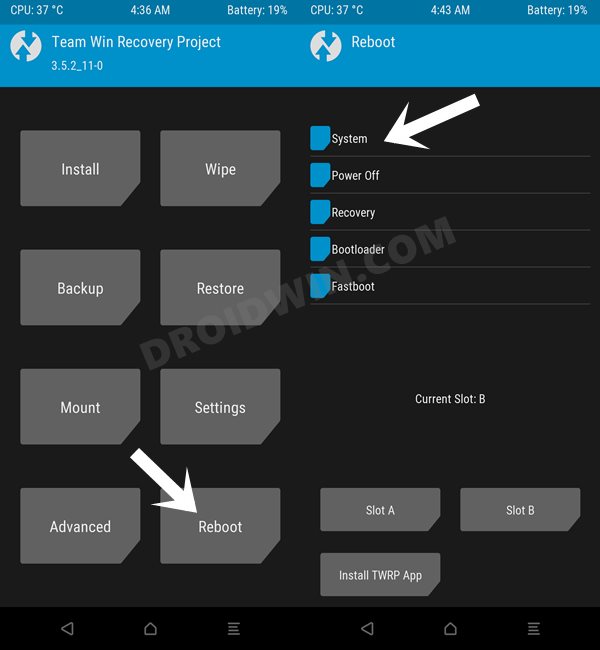
STEP 7: Install Android 12 ROM on Galaxy Note 8
So with this, we round off the guide on how you could install the Android 12 ROM and TWRP on Galaxy Note 8. If you have any queries concerning the aforementioned steps, do let us know in the comments. We will get back to you with a solution at the earliest.
About Chief Editor