So for example, if you want to root your custom ROM, then you just need to sideload the Magisk ZIP. But since Magisk hasn’t been officially signed by that ROM developer, you might get the Signature Verification Failed message. Alongside that, you’ll have the option to proceed ahead and install that file or skip it. However, this option isn’t present across all the custom recoveries, some of them will blatantly refuse to flash the file. It will straightaway give out the aforementioned error message but wouldn’t give you any option to proceed ahead with the installation. So what could be done in such instances? Well, even if you are getting a Signature verification failed error when sideloading Magisk, you could still root your device via two nifty methods. And in this guide, we will make you aware of both these methods. Follow along.
Signature verification failed: How to Sideload Magisk & Root?
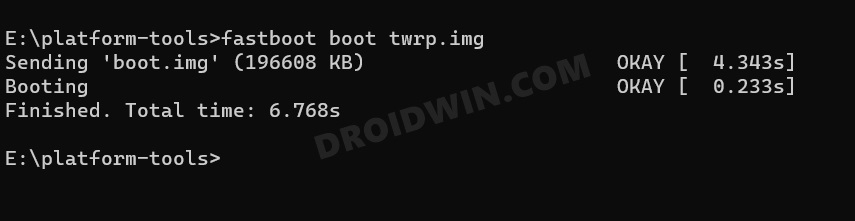
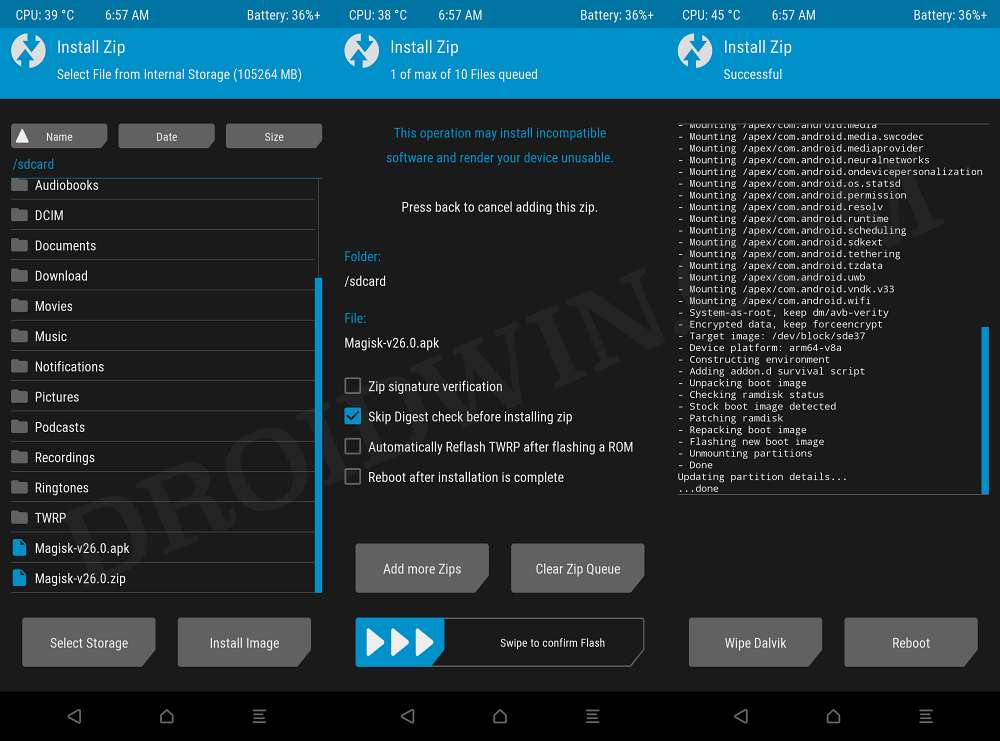
You could take two different approaches to get this job done. First off, you could temporarily boot to TWRP for one-time usage and flash the Magisk ZIP. This is the shorter of the methods and is quite easy to carry out. Unfortunately, TWRP might not be available for every device. In such cases, you will then have to opt for the longer route of extracting ROM’s payload.bin, getting the boot.img, patching it via Magisk, and flashing it via Fastboot. We have explained both these methods below. You may refer to the one that is in sync with your requirement. Droidwin and its members wouldn’t be held responsible in case of a thermonuclear war, your alarm doesn’t wake you up, or if anything happens to your device and data by performing the below steps.
Method 1: Via TWRP
These were the steps to fix the Signature verification failed error when sideloading Magisk and rooting your device. Let’s now make you aware of the second method to get this job done.
Method 2: Via Payload Extraction
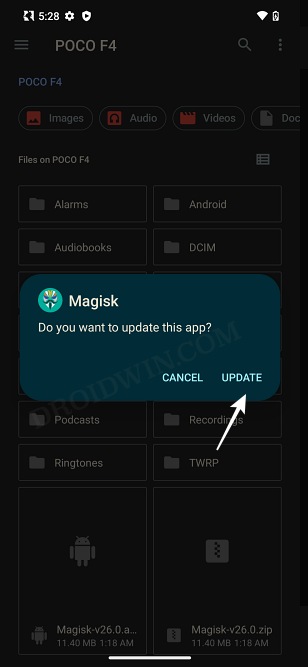
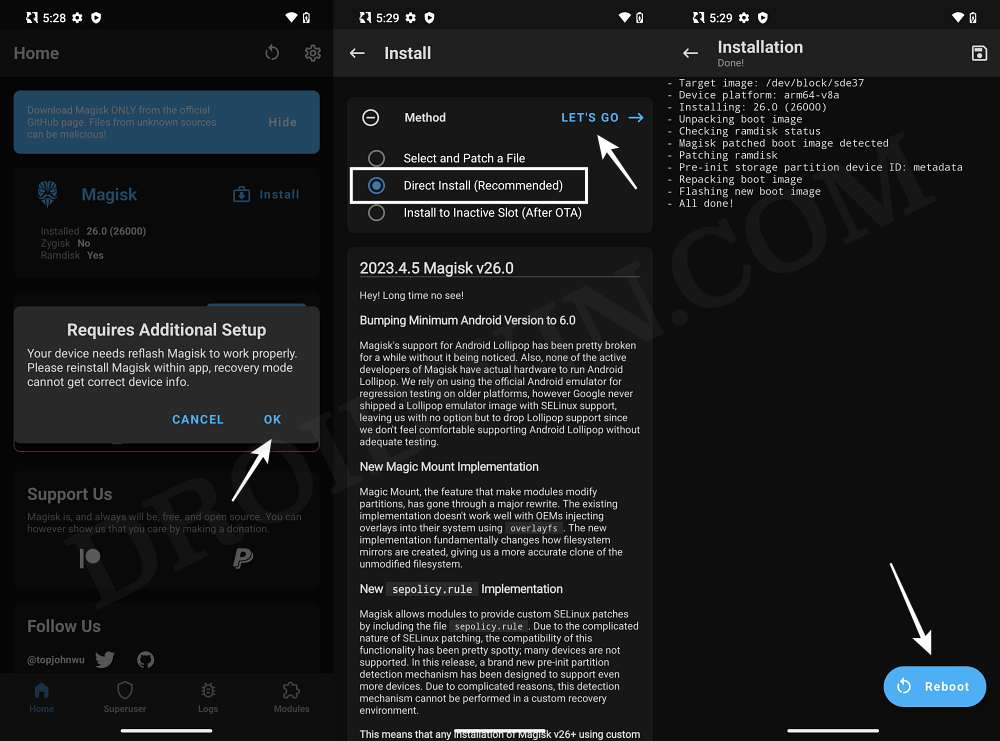
In this method, you’ll have to extract the payload.bin fil via Fastboot Enhance, get the stock boot.img, patch it via Magisk, then temporarily boot your device via this patched boot, and finally select Direct Install for permanent root. We have explained all this in detail in the linked guide below, do check it out:
That’s it. These were the two different methods that should help you fix the Signature verification failed error when sideloading Magisk and rooting your device. If you have any queries concerning the aforementioned steps, do let us know in the comments. We will get back to you with a solution at the earliest.
How to Root Xiaomi EU ROM via Magisk [Video]How to Pass SafetyNet on any Rooted Custom ROMGuide to Root crDroid ROM via Magisk [Video]How to Pass SafetyNet on Rooted Pixel Experience ROM [Video]
About Chief Editor